
Product Photography or 3D Render for E-commerce? A Practical Decision Guide
Both methods produce product images, but they solve different problems. A practical comparison by product type, variant count, consistency, reuse and trust.
Two methods, two different problems
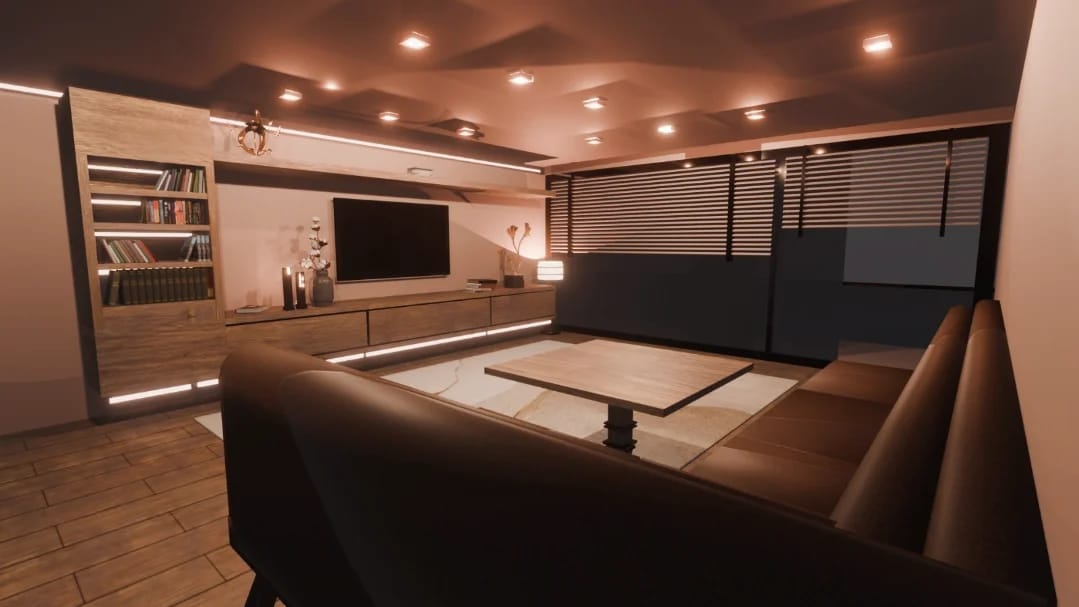
The question most teams ask is "which is better, photography or 3D rendering?" A more useful question is "which problem am I actually trying to solve?" Photography records a product you already hold in your hands. A 3D render turns the product into a digital model and then produces as many images from it as you need. Both put pictures on an e-commerce page, but they behave very differently when it comes to cost structure, flexibility, risk and reuse.
This guide does not declare a winner. Its purpose is to give you a decision framework you can apply to your own products, your own catalogue and your own budget. There is no single correct answer. The number of products, the variety of colours and materials, whether the product exists yet, and the channels where the images will appear all change the outcome.
I also want to be upfront about numbers. You will find confident claims online about how much 3D imagery lifts conversion or cuts returns. I do not repeat figures that come without a verifiable source, because the real effect depends on your product, your shop and your audience. What follows is reasoning you can test against your own situation, not a promise.
What photography does well
Photography shows the real product as it is. When the item is on your desk and the range is small, it is very often the most sensible choice.
Here is where photography is genuinely strong:
- Natural material feel: the drape of fabric, the grain of wood, the texture of food, the softness of skin. Complex, organic surfaces arrive in a photograph almost by themselves. Reaching the same believability in 3D is possible, but it takes real effort.
- Speed and simplicity: if the product is available, a simple set-up can produce usable images quickly. There is no modelling stage.
- Expectation of reality: some buyers, especially for second-hand, handmade or one-of-a-kind items, trust a photograph more because it shows the actual piece in front of them.
- People and real settings: scenes where the product is worn, held or used in a real room are captured more naturally with a camera.
- Low entry threshold: for a handful of products, the set-up cost is usually modest, and you do not need to build any production pipeline.
The weakness of photography is that every shoot is a separate job. Light, location, time and labour are spent again each time. When you want a large number of products to look consistent, small differences in light and angle creep into the catalogue.
When 3D rendering comes into its own
Rendering tends to make sense in a handful of situations:
- The product has not been manufactured yet, or exists only as a prototype.
- There are many colour or material variants, and you do not want a separate shoot for each.
- You need the same light and angle across a whole series of products.
- The same model should feed still images, video and a rotatable object on the web.
- The product is large, heavy or difficult to transport to a studio.
There is concrete logic behind each point. A product that has not been built cannot be photographed, but a model can be created from a design file or a technical drawing, so the images are ready before the product goes on sale. For products with many variants, the model is built once and new images are derived by changing colour and material values. For a series, light, lens and floor are fixed once and every product is produced in the same set-up, which avoids the differences you get when items are shot on different days by different people. If you are new to the underlying work, what is 3D product modelling explains how the model is built in the first place.
Product type changes the answer
The type of product matters as much as the numbers. The grouping below is a starting point, not a rule.
- Hard-surface, geometric products (furniture, electronics, sports equipment, lighting, appliances): usually a very good fit for 3D. The form is clear and the materials are defined, so building and presenting the model is relatively predictable.
- Glossy and reflective products (metal, glass, perfume bottles, jewellery): reflections are difficult to control in a photograph, while in a render you can direct the light precisely, provided the materials are set up properly. Very small, intricate pieces are still hard in both methods, so judge them individually.
- Organic and soft products (clothing, fresh food, plants): photography usually looks more natural. In 3D, fabric and organic textures demand more care and specialist skill.
- Multi-part, configurable products (modular furniture, equipment with colour and accessory options): this is where 3D is strongest. The Aura Reformer project is a good example: a set of 6 Pilates equipment products shown in a web viewer with a 3D colour picker of 57 colours.
- Prototype-stage products: if no physical sample exists, the photography option disappears on its own.
The cost logic
In photography, cost repeats with every shoot. In 3D, there is an upfront cost for modelling, but once the model exists, a new angle or colour is relatively inexpensive. Which one is cheaper depends on the number of products and the variety of variants. There is no fixed answer.
Here is a hypothetical way to think about it. On one side, imagine a shop with very few products, no variants and the items sitting in the stockroom. Photography is usually the more economical choice there, because you spend no modelling effort at all. On the other side, imagine a product family with many colours and materials, with new variants added through the year. Every new option means planning a shoot, sourcing a sample and shooting again. That repeating burden can, at some point, exceed the cost of building a model. These two scenarios are illustrations, not data from a real client.
When you compare costs, consider these items together:
- Upfront cost: studio and shoot for photography; modelling and material set-up for 3D.
- Cost of each new variant: a new sample and a new shoot for photography; a material change and a new render for 3D.
- Logistics: sample transport, storage and returns for photography. In 3D this burden disappears, although you still need accurate reference and dimensional input.
- Revisions: in photography an error or a design change can mean a reshoot. In 3D it often means adjusting the model or a setting and rendering again.
- Reuse: a photograph is mostly taken for a single use, whereas a 3D model can become images, a video and a rotatable web object.
For a framework on what drives the price of modelling work, read 3D product modelling cost: what affects the price. A firm budget always needs the details of your actual products.
Consistency and scale
If your catalogue has hundreds of products, visual consistency directly shapes how the brand is perceived. In photography, consistency depends on a fixed set-up, standard lighting and careful retouching. It is achievable, but every shooting day is slightly different, and drift accumulates over time. In 3D, light, lens and floor live in the file. The products change, but the staging does not.
A second difference appears as you scale: updates. When a product design changes slightly, photography needs a reshoot. With 3D, the change can be carried through to every image made from that model. The limit is that someone has to keep the model maintained against the current reference, so it is a discipline as much as a convenience.
The trust question
A render has to match the real product. If a visitor finds a difference in the physical item, trust is lost. For this reason, checking colour and material against a physical sample matters.
There is a trap here. When a render looks too perfect, it can suggest that the product is more flawless than it really is. If the real item has a slightly different tone or a slightly more matt surface, the customer is disappointed. To protect trust:
- Match colour and material to a physical sample or a colour code.
- Photograph the sample under the same light and compare it with the render.
- Verify dimensions and proportions against a technical drawing or a real measurement.
- Where it helps, state on the page that colours can look different from screen to screen.
- Do not remove real product photography altogether. For unique and handmade items especially, a mixed approach increases confidence.
Accuracy rests on the input. A model is only as realistic as the reference material behind it, so prepare dimensions, drawings, colour references and sample photographs before work starts.
The mixed approach
Many brands keep their core product photography and use 3D for variants, promotional visuals and interactive models. This is not a compromise; it is often the most practical arrangement.
In practice it can take a few forms. You might use 3D only for certain product groups, for example configurable items in 3D and unique, organic items in photography. You might show the main hero image as a photograph and the colour options as renders. You might place a rotatable 3D object next to the photo gallery on the product page. If you want to try the last of these, how to add a 3D model to a website with model-viewer walks through the practical steps, and the GLB file format explained for web 3D covers what the file itself should look like.
The thing to watch in a mixed set-up is visual language. If the light in your photographs and the light in your renders are far apart, images that sit side by side on one page will look inconsistent. The remedy is to take the photographic light as a reference and bring the render close to it, or to commit the whole catalogue to one style.
Page speed and mobile
A rotatable model is not free. A heavy model can slow a page, and a slow page can cancel every advantage that 3D was meant to bring. Keep the file small, use a poster image, load the model only when the visitor needs it, and consider a lighter version for phones. Most online shoppers browse on their phones, so test on a real device: scrolling the page must not fight with rotating the model, buttons need to be large enough, and the model should run smoothly on modest hardware.
The solution is not to give up on 3D, but to position it so that it never blocks the first load of the page. A poster image that appears instantly, with the model loading behind it, is a sound pattern.
Search visibility and text
A 3D viewer does not give search engines any text. The product name, specifications, dimensions, materials and colour options should therefore be written as real text on the page, and the poster image should carry a descriptive file name and alt text. 3D can improve what the visitor experiences, but it does not replace well-written copy or structured product data.
A control list for the decision
Ask yourself these questions to clarify the direction:
- Do I physically have the product now, or is it still in production?
- How many products do I have, and how many colour and material variants does each one carry?
- How often do I add new variants or models? Is the catalogue growing?
- Will the images be used in one channel, or across the website, marketplaces, advertising, video and print catalogues?
- Is the product hard and geometric, or organic and soft?
- How important is visual consistency for my brand?
- How important is an exact match with the real product, and can I supply a physical sample?
- Am I thinking of extras such as an interactive model, AR or animation?
If most of your answers point to "few products, ready stock, organic material, one channel", photography is usually sufficient and economical. If they point to "many variants, prototype, series consistency, multi-channel use, interactive model", 3D becomes a serious option. With mixed answers, a combined approach is sensible. If your products have colour or material options, the 3D colour configurator article shows what that can look like in practice.
Start with a small pilot
Before converting an entire catalogue, a small pilot lowers both risk and cost. Choose one or two products, ideally the ones that attract the most interest or are hardest to explain. Have the models and images prepared, use them on your site for a defined period, and watch how visitors behave: time on the page, use of the viewer, adding to basket, and the nature of customer questions. At the end, compare with the old pages for the same products. Do not expect a precise percentage; look at whether the direction is right. If the result is positive, widen the scope. If not, look for the cause, whether it is loading speed, page design or an unsuitable product.
The decision is also not a one-off. Product ranges grow, websites improve and tools change, so something that was not worthwhile a year ago may be worthwhile now. Writing a review date into your calendar prevents both unnecessary investment and missed opportunity.
Common mistakes
- Looking only at the first cost. The modelling cost of 3D may look high at first glance, but if new variants and further uses are ignored, the comparison is wrong. Equally, the repeating cost of photography should not be overlooked.
- Expecting a model without reference. A 3D project that begins with no dimensions, colour codes or sample carries a higher risk of inaccuracy.
- Presenting a render as the real product and hiding the difference. Loss of trust follows. Accuracy comes first.
- Forcing one method on every product. Some products suit photography better, others suit 3D.
- An inconsistent visual language. In a mixed set-up, failing to bring the light of photographs and renders closer together.
- Not thinking about what comes after. Forgetting that a model can be reused for video, AR and the web means missing the main advantage of 3D.
- Ignoring who will maintain it. Someone has to update models when products change, upload them to the site and keep files organised. Agree this early, whether the work is in-house or outsourced.
Frequently asked questions
Does 3D rendering make sense for a small shop?
If you have few products, no variants and stock on hand, photography is usually cheaper and faster. If a few of your products have many colour or material options, or a product is not manufactured yet, 3D is worth reconsidering. It depends on the number of products and the variety of variants.
Does a render create as much trust as a photograph?
It can, when it is done properly, but the condition is that the render matches the real product. Checking colour and material against a physical sample, keeping the true proportions and using real photographs alongside renders when needed all protect trust.
Can I use both photography and 3D for the same product?
Yes, and many brands do. Core product photographs can stay, while colour variants, promotional visuals and an interactive model come from 3D. What matters is bringing the lighting and visual language of the two methods close together.
Is a 3D model only useful for images?
No. The same model can become an animation, a rotatable object on a web page and an AR experience. That reuse is one of the main factors that balances the upfront cost of 3D.
Which products suit photography better?
Organic and soft-textured products such as clothing, fresh food and handmade one-off items usually look more natural in photographs. Hard-surface, glossy or configurable products tend to benefit more from 3D.
Conclusion
Product photography and 3D rendering are not rivals; they are two tools for different problems. Photography is a strong fit for few products, ready stock and organic materials. 3D is strong for many variants, prototypes, series consistency and multi-channel use. For most brands the healthiest approach is to decide by product group and, where it helps, to use both. If you would like to talk through which route suits your products, you can request a quote and describe what you sell.
Have a product in mind? Send photos, dimensions or drawings and get a project quote.
Request a quote